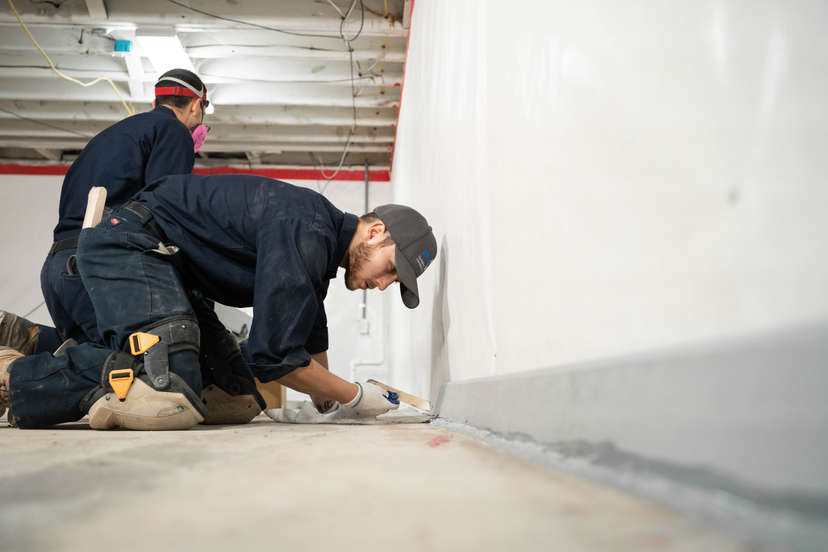
One thing that’s good is the fact that the basement waterproofing and sealing process, which is a necessity if you’re going to have properly functioning basement insulation, is consistent. For the most part, you’ll run across four steps in the basement waterproofing and sealing process.
Step 1: Remove Standing Water and Debris
If you currently have standing water or any sort of debris in the basement, you need to get rid of both problems. There are many different reasons why standing water might exist in a basement. It’s important for you to uncover the source of the water, drain it out, and find a way to make sure it doesn’t happen again.
Additionally, debris, no matter the source, is a problem, so remove it as soon as possible.
When you’re looking for a way to remove water from the basement, there are a few methods you can choose. It’s common to use a sump pump, either temporarily or permanently. If you only need a sump pump temporarily, you can use one for a short period of time; a permanent sump pump typically goes into your basement floor and works regularly to remove standing water from the area. It is best to couple your sump pump with an interior drainage system like BasementGutter™. The specially designed BasementGutter™ system sits in the sub-floor to collect leaking water from the walls and floor, and this water is then directed to drain into the sump pump system so it can be properly removed from the basement.
Step 2: Prevent Moisture Entry
Any entrance that can possibly introduce moisture into your basement is bad. That includes basement doors to the outside with bad insulation, basement windows with bad insulation, and even inside-facing basement doors that are poorly insulated. You need to make sure you’re avoiding anything that could possibly introduce moisture into the basement, which can cause condensation and other issues.
Basement moisture is a serious issue, and often the reason behind damaged insulation. To protect your space, it’s important to prevent high humidity, condensation, standing water, leaking windows, and other sources of moisture intrusion. A JES expert can help you identify and address these problems with basement wall waterproofing solutions.
In addition, interior drainage systems, sump pumps, and basement dehumidifiers can further protect the insulation and space. An energy-efficient model helps control moisture and humidity levels, improving overall indoor air quality and reducing the risk of mold and mildew.
Step 3: Replace Destroyed Insulation
The next step is to replace any insulation that no longer functions because of the water that was in the basement. This could be anything from a very small amount of insulation to essentially the entire basement. The reason this range of options is so large is that it’s hard to predict exactly how basement insulation will react to moisture in the basement area.
If you have exposed insulation in the basement and you experienced a lot of water, like a home flood or a serious plumbing leak, it’s more likely that you’ll need to replace the insulation. If you’re not sure in any way, it’s always better to ask a JES expert. At the very least, you’ll be able to learn what’s wrong in your basement.
Bonus Step: Keep an Eye on the Basement
Keeping an eye on the basement should be something you do regularly. The problem initially occurred for a reason; it didn’t just pop up one day for no reason. It’s important that, as the homeowner, you look down at the basement every so often, even if it’s unfinished.
When you look at your basement regularly, you’ll be more likely to see whenever something’s different because you’ll know what it looks like. Don’t be afraid to look down in your basement every so often to get familiar with it.